
‘Let’s talk about planting up winter pots this week’ gushed Elaine and Caroline. And indeed they are full of new-found ideas on how to go about it which added HUGELY to what they knew from their own wisdom and experience.
They both happened to watch an apparently wonderful Zoom presentation by Harriet Rycroft and were thrilled by her refreshing approach and wealth of knowledge. Harriet seemed to have some brilliant advice so even Caroline might have something useful to share with you. By the way, if you’ve no time to read this at the mo? – click on the link at the bottom to hear us chatting about this topic instead. To start us off, I have just one very important tip to impart…
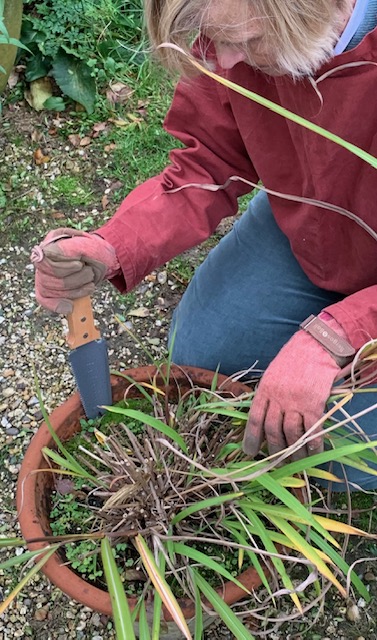
If you’re anything like me, before you start, you’ll need to recycle an old container that might already have a pot-bound specimen bed-blocking new seasonal designs so my first tip is:
1.Invest in a root knife. Once they reach the outside of a pot a plant’s roots seem to adhere themselves to the inner surface with something akin to superglue and need some sharp bladed instrument thrust down the side to loosen the rootball. Having bent numerous bread knives in this process, I was delighted to find Burgon and Ball have produced a brand new bespoke tool for this very job. I insisted we added this to the range of indispensable garden products which we are planning to stock in our shop in the run up to Christmas (it actually displaced one of Caroline’s must-have items – edible birthday cards for dogs …..)

Yes winter pots had hitherto only meant one thing for me ……ornamental cabbages and how many I could get in the very short window that they’re available (you’ve largely missed it by the way).
I gloomily assumed that plants for winter pots only stretched to weather-beaten pansies or cyclamen, with pink cabbages the only acceptable substitute. Then, while Laura was astonishingly being showered with gifts at her retirement party, I joined Elaine in doing a bit of lifelong learning. We logged into a pot-planting workshop by Harriet Rycroft – mind blown!
I’ll share some of her tips with you.
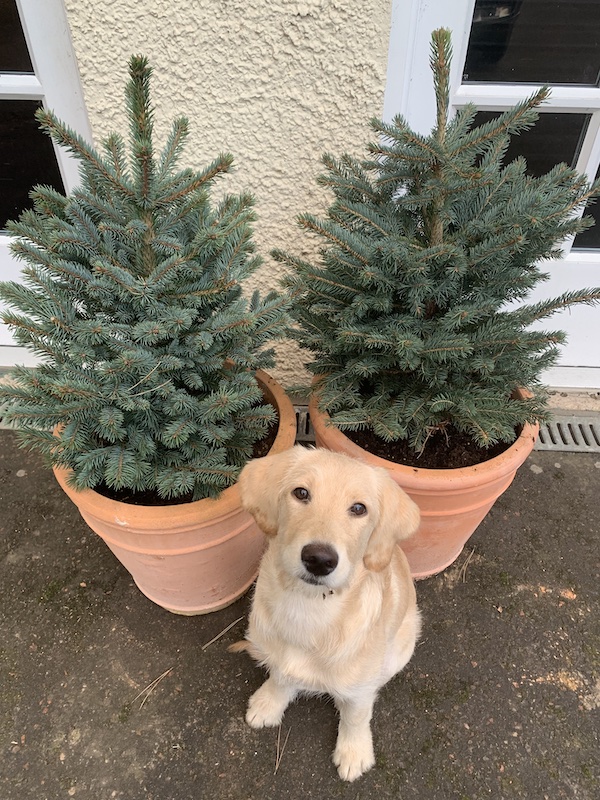
2 Get your hands on anything evergreen – euphorbias, phormiums, dwarf conifers etc. They’ll shrug off a deep freeze, give you height and look utterly fantastic with a sprinkling of frost on them.
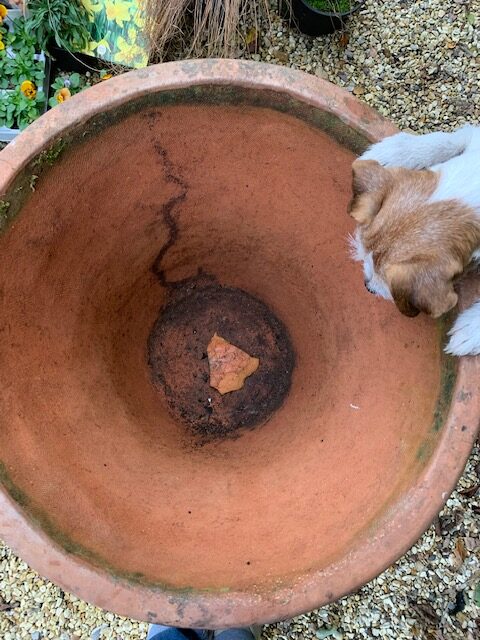
3 Use new compost (but don’t bother with crocks in the bottom of your pots says Harriet, by the way, just a little shard across the big hole in the bottom). Add in a handful of slow-release fertiliser granules if you’re using ‘peat-free’ to give it a bit of ‘oomph’ (admission here, I do try to cut costs by re-using the existing compost in my pots but like Harriet, give it a handful of pep pills to revitalise it).
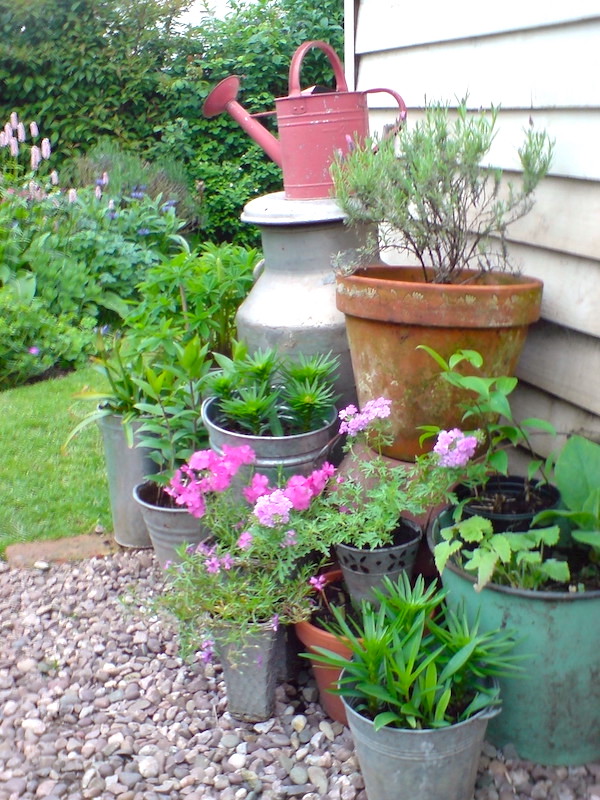
4 Mount your pots on top of one another in a sort of pyramid to create a display, rather than have them all at one level on the ground – this was so effective in her examples!
5 Layer it like a lasagne Finally – you can apparently adopt the ‘lasagne’ approach to every pot. Harriet was cramming in tulips, crocuses, evergreens, tellimas – you name it, in it went and it looked fantastic. But I’ll pass on her note of caution – if you have Tuscan urns or Ali Baba pots, best to simply pop a pot in the top and not to fill the whole gin-bang with soil because if the water inside freezes and it expands – you’ll need a genie to buy you a new pot!

Well it’s reassuring to hear that Caroline was paying a bit of attention during the presentation but typically she has just cherry-picked some fine sound bites from Harriet’s talk, for sure. I’ve got a few more – and you may hear the voice of bitter experience running through a couple of them…………….
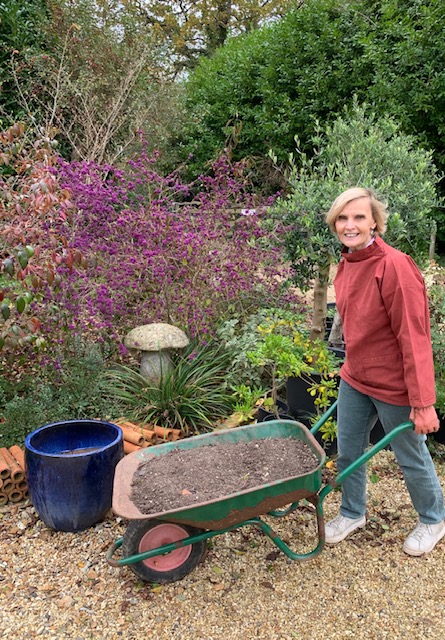
6 Move your pot BEFORE you fill it with compost. Ricked backs are no fun at all, so move your empty pot into its final position and then bring the compost and plants to it in a wheelbarrow and put it all together in situ.
7 Select your pot carefully. If going for terracotta, you want a frost proof one (in my experience, if it doesn’t say it is, then ask before you buy. If you’re still not sure, don’t buy it).
8 Position it sensibly Choose somewhere where folk will see it, as they dash through the rain (or worse) to your front door; if it catches a touch of low winter sunlight, so much the better. If it’s a windy corner, I’d advise against a plastic pot, which could blow over in harsh gales.
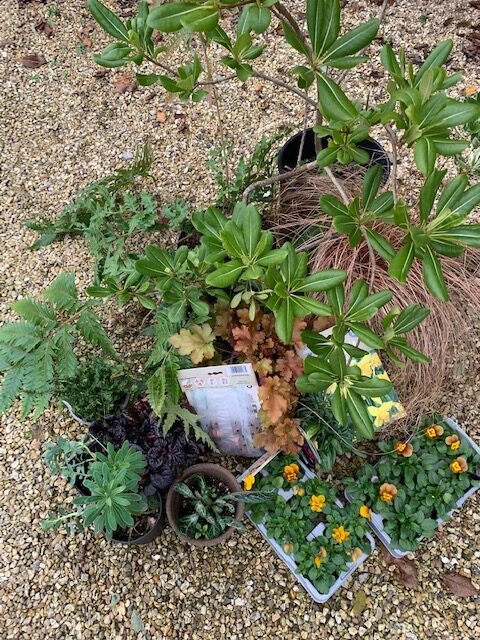
9 Pack it full of plants. Planting a pot for winter is all about injecting oomph into a rather ‘meh’ time of the year. Most plants really slow up during the winter, and if you don’t put in loads of things, your pot will look ‘thin’ for ages. Harriet was certainly putting MASSES in the trough she was planting up! Pop some early daff or iris bulbs in first, then plant the soil up thickly and fill in gaps if they appear with more little violas, heathers or cyclamen. You will most likely be unpacking them all in the spring, anyway, to grow on/make way for spring and summer flowers. They won’t need the space to expand until then, so jam ’em in, and have fun!
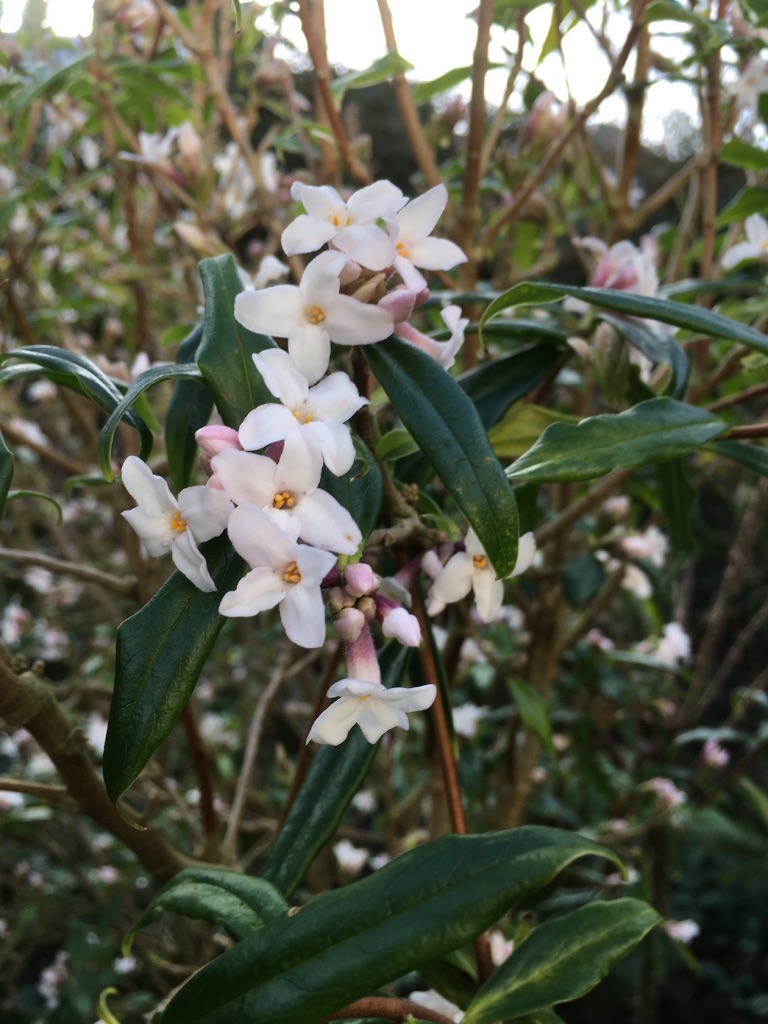
10 Use foliage. Flowers can be a little scarce in winter. So use coloured or evergreen leaves and stems, and perhaps bright berries and there are plenty out there; a small shrub like variegated Euonymus or Cornus, winter-scented Daphne or Sarcococca, coloured Hebe, or berried Pernettya – any of these would provide a taller centre to your arrangement. Fill it round with things like ivies, Ajuga, Heuchera, Carex, hart’s tongue fern (if it’s a bit shady), Cineraria……look round the garden centre and have some fun! I’ll tell you what – that dark-leaved curly kale looks AMAZING in a winter pot; or if you prefer, evergreen herbs like rosemary and sage have a gentler look as well as being handy for hearty winter meals.
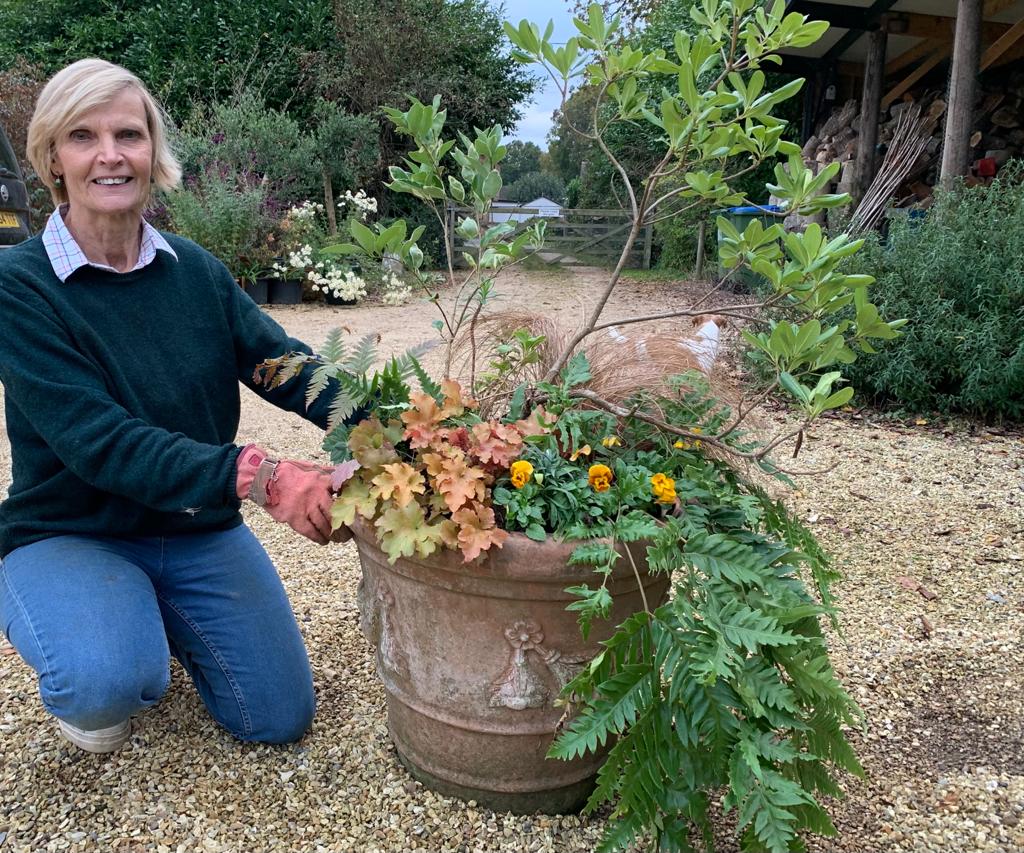
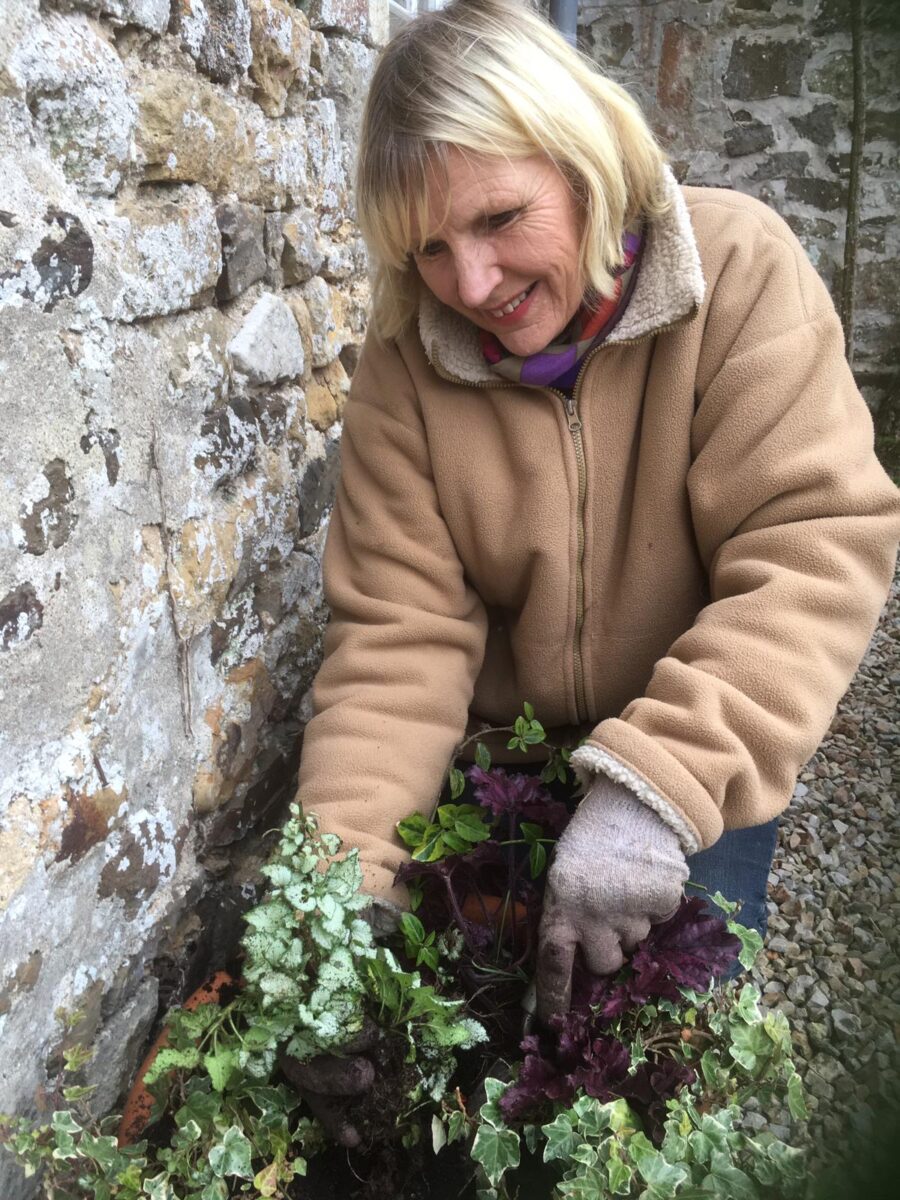
After all our sound advice Laura managed to put together a half decent winter pot that is our feature picture this week.
Here is the link to our podcast recording on the subject of planting winter pots.
NB Louise’s plant of the moment seems to be revelling in the onset of the big winter chill, click on the box below to find out what it is.
More NB If you’d like a bit more gardening chitchat from the3growbags, please type your email address here and we’ll send you a new post every Saturday morning.