
While the world hunts desperately for snippets of good news amongst all the awful stuff, we gardeners still have the little buzz of feeling that spring is not hopelessly far off now. The snowdrops are pushing through, and we can begin preparing our plots for the coming season. Let’s get going on tasks like pruning fruit-trees and willows, checking on houseplants and starting off spuds….
Seeds and spuds
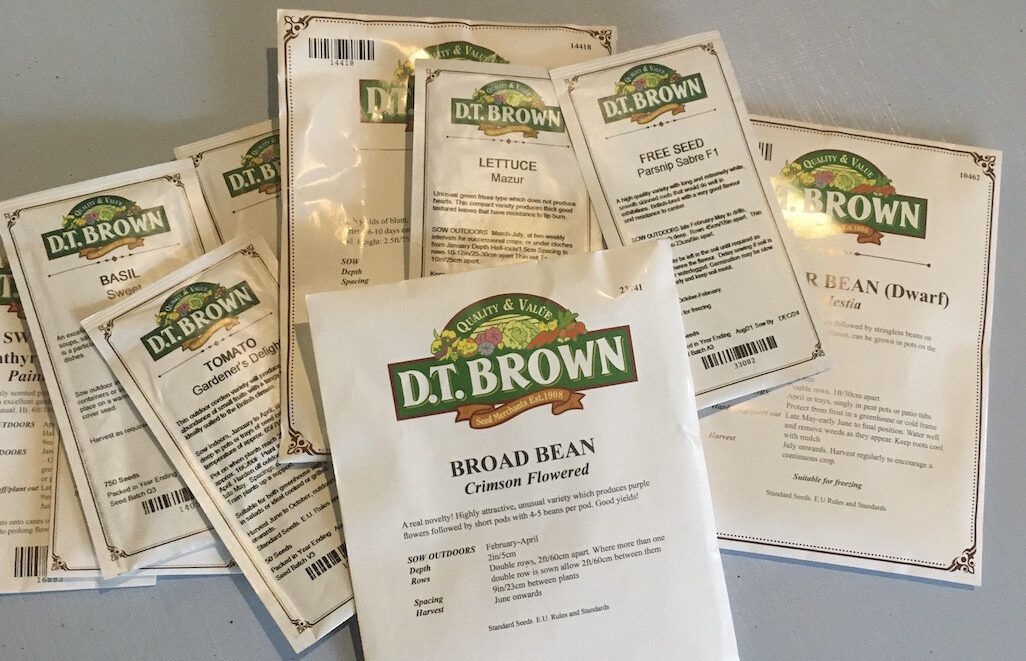
It’s always a bit of a magic moment when your new-season veg seeds arrive – so much promise contained in those envelopes! Have I chosen wisely? Can I do them justice? Or possibly, can I at least do better than I did with last year’s seeds?!
If you haven’t ordered yours yet, it might be an idea to get right on with it, because, with a Covid lockdown still in full swing, spring 2021 is likely to see another explosion in all things horticultural, and some companies might struggle to cope with demand.
And then there are the seed potatoes – those little nuggets of gold that are going to give you heaps more golden nuggets later on, you hope. When mine arrive I like to put them in a sunny spot on an inside windowsill to develop tiny little sprouting shoots which have the rather odd name of ‘chits’.
It all feels a bit counter-intuitive to put them in the light, doesn’t it. We are always being told that we must keep our spuds in the dark or they will go green and poisonous, which is absolutely true. But the fact is that potatoes are actually just underground storage organs for the plant to regenerate itself – you may well find that during early spring the potatoes in your dark veg rack start to develop spindly with shoots, lengthening as they hunt for the light. Those are not how you want your seed-potato chits to look. In the sunlight, the shoots will be green, stumpy and much stronger – perfect!
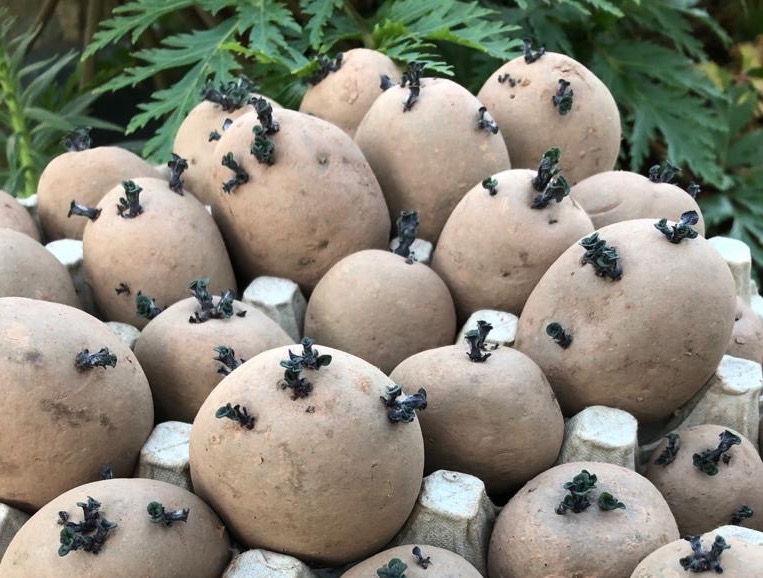
These chits will start to appear in the ‘eyes’ during the next few weeks, and will give your spuds a nice little head start when you begin to plant them out in March. Eggboxes make a handy container to sit them in while they’re chitting.
Let’s get fruity
Winter can be a great time to prune fruit trees, particularly apples and pears. They are dormant at this time and won’t be weakened by sap bleeding from the cuts. I say ‘most’ fruit trees, because you shouldn’t tackle plum and cherry trees now – they have a nasty habit of becoming infected with silver leaf fungus, so leave them until the summer.
Have a good look at the tree, and firstly take out any dead, diseased or broken branches. Don’t worry about lichen – it doesn’t do any harm at all, but do take off any ‘mummified’ blackened fruit which can spread brown rot.There is a lot of complicated stuff out there on the subject of fruit-tree pruning, but I think if you stick to the idea of leaving a good open centre to your well-branched tree, you won’t go far wrong. I read somewhere there should be enough space between the branches for a pigeon to fly through easily. My apple-trees would allow barely a blackbird through, I reckon, but they still bear so many apples that I worry about broken branches – so not an exact science then!
What you shouldn’t really do is a little ‘trim-all-over’ – that will produce ‘fluffy’ vigorous growth everywhere that won’t flower in the spring. Instead, aim to take off about 10% of the oldest 2″ 3-5 cm) diameter branches. It’s more of a thinning process in fact.
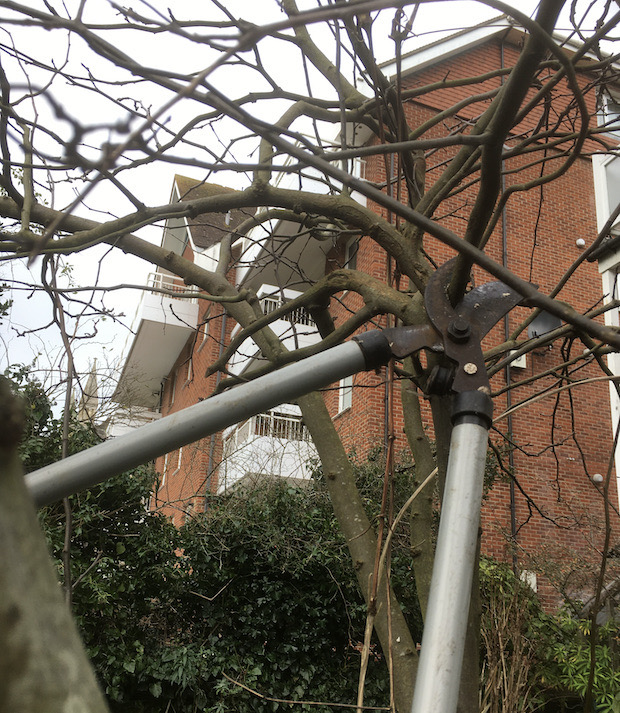
If you do need to take off a bigger branch – for instance, to be able to mow underneath – do it in stages working back to the trunk, to avoid the risk of ripping the bark as it falls. Take off the twigs and branches first, reducing its weight, then perhaps a cut halfway along. When you’re left with the branch-stump, make a short cut upwards on the underside first, then saw down from above to meet the cut.
If you’ve overdone it, you’ll get bloomin’ shoots sprouting thickly all over the place. It’ll be a lean year for you fruit-wise, but not a catastrophe. If you’ve underdone it, you might also get less fruit because the light and air couldn’t get in to ripen the fruit. But…you guessed it…not a catastrophe. There’s always next year.
A gorgeous greenhouse?
Have you got a greenhouse that will be pressed into serious service come the spring? Hopefully you gave it it a good wash-down in autumn, and all it needs now is a spruce-up, so that it will perform brilliantly for you when you need it.
- Clean out the debris, moss and autumn leaves from the gutters – they all impede the water flow, and once they’re all soggy, they encourage algae to form as well.
- A bent wire coat hanger is a handy implement for clearing out the drainage pipe from the gutter into a waterbutt. Waterbutts themselves, particularly uncovered ones, could do with a scrub-out once a year, if you can manage it.
- Wash down the panes, paying particular attention to the dirt between the panes. If you are cleaning the inside as well as the outside, you should really remove any overwintering plants first (which is why the BIG clean is really a job for late autumn – your tender plants would HATE standing in the snow for any length of time!). I just swab down the outside in winter to maximise the thin spring light reaching emerging seedlings etc. By the way, did you know that you can raise the temperature in an unheated greenhouse by a few degrees by placing containers of water in there which will act as storage heaters warming up during the day and releasing the heat at night.
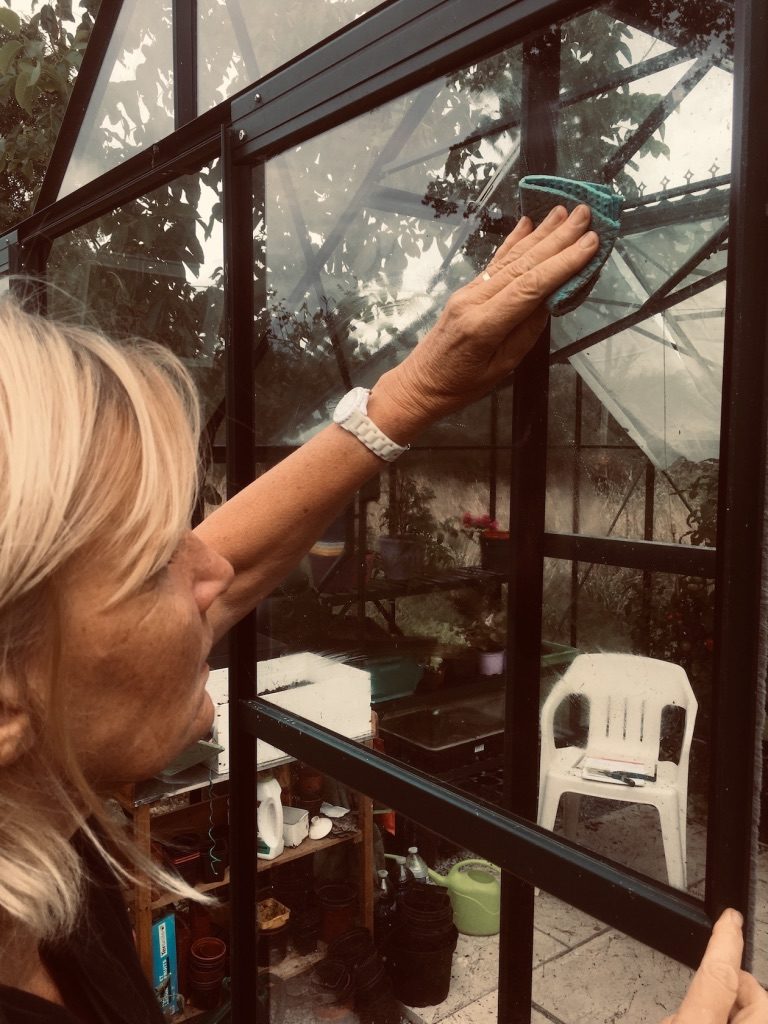
One word of warning: Do wear thick gloves when you’re handling glass or metal fittings, and do be careful when you’re cleaning the top of the greenhouse – much better to try and fix a brush to a long stick, than crash through the glass on to your dahlia-tubers!
Gardening shorts
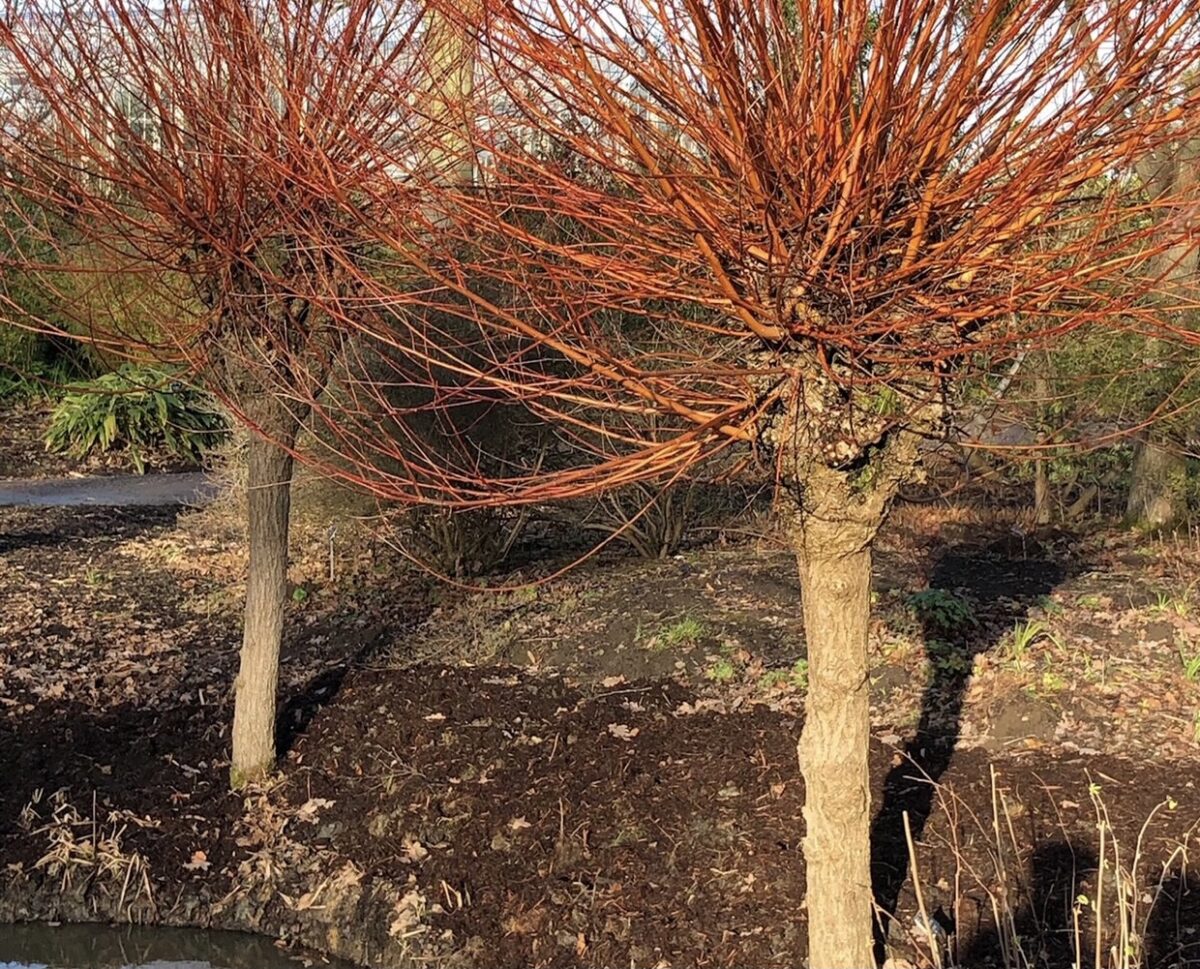
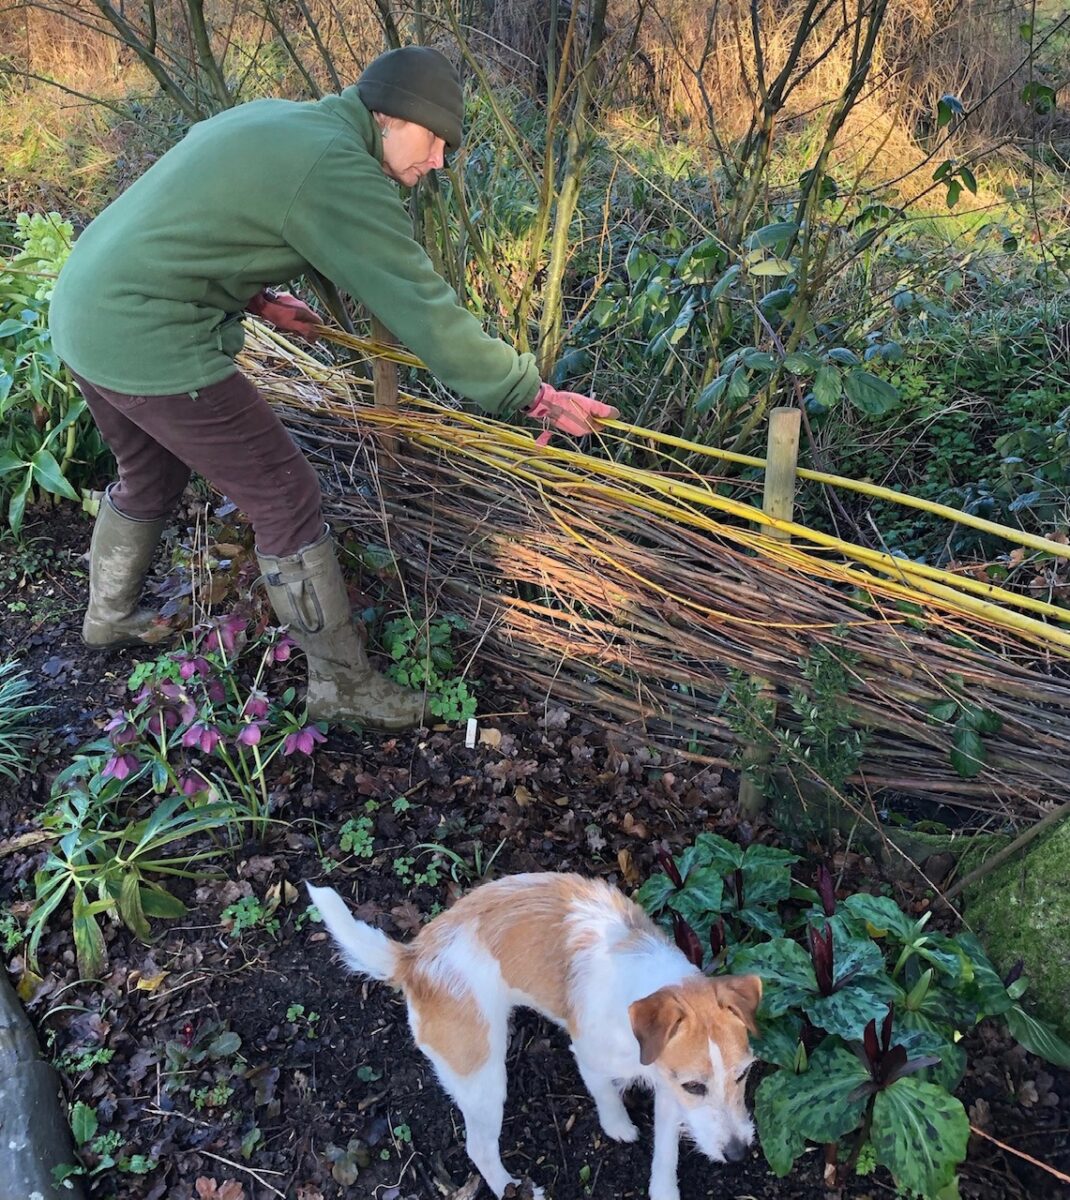
- Coppicing hazel and willow is done in winter to keep them small and multi-stemmed, and give you woody stems for fencing, weaving, pergolas or as pea sticks. Cut hard back to the ground or to one main trunk using a pruning saw or loppers. Our feature photo today is the lovely willow ‘Yelverton’, which may want to leave for a few weeks yet to enjoy its coloured stems.
- Keep checking over your houseplants for aphids, whitefly, mealybug or scale insects – they produce sticky honeydew that welcomes in revolting sooty moulds. Wiping them off or spraying them with a weak soapy water solution can help destroy them.
NB If you’d like a bit more gardening chit-chat from the3growbags, just enter your email address here and we’ll send you a new post every Saturday morning